It’s been a long week of troubleshooting, and the battle has finally been won. As some of you know, I’ve been working on a complete overhaul of the Millright M3 electronics until I can get my dream machine built. This past week, a ghost in the machine almost brought the project to a grinding halt. I got all of the motors working and then moved on to wiring up the limit switches used to home the machine. Immediately when starting up UGS, I started getting errors like “An unexpected error has occurred. Hard limit has been triggered. …” and the machine would be put into an alarm state.
The Problem: A Ghost in the Machine
The issue presented itself as a constantly triggered Z-axis limit switch. It was as if the switch was always pressed, even when it wasn’t. This meant my machine couldn’t home properly. I checked the switch itself, the wiring, the connections — everything seemed fine. The issue was a phantom problem that only appeared after I rebuilt the electronics.
My Troubleshooting Odyssey
I went down every logical path I could think of.
- Checking/replacing the switch: I first isolated the Z-axis limit switch and used a multi meter to check for continuity. It was working perfectly. The switch was not the problem.
- Checking the wiring: I traced the wires back to the control board. No visible nicks, no loose connections. I checked for continuity from the switch all the way to the control board, and everything was fine. Still, the problem persisted.
- Checking the control board: I even swapped out the CNC shield board with a brand new one. The problem remained. Then I switched out the CNC shield with the original one that came with the machine. Still didn’t work. At this point, it was clear the issue was not with the electronics themselves but with something in my wiring.
The A-ha! Moment
Frustrated, I decided to take a step back and restore the original Arduino Uno R3 clone and CNC shield. The old setup, while clunky, never had this Z-axis issue. As I was removing the new official Arduino Uno R3 that I had installed, I noticed something odd that I had forgotten I did.
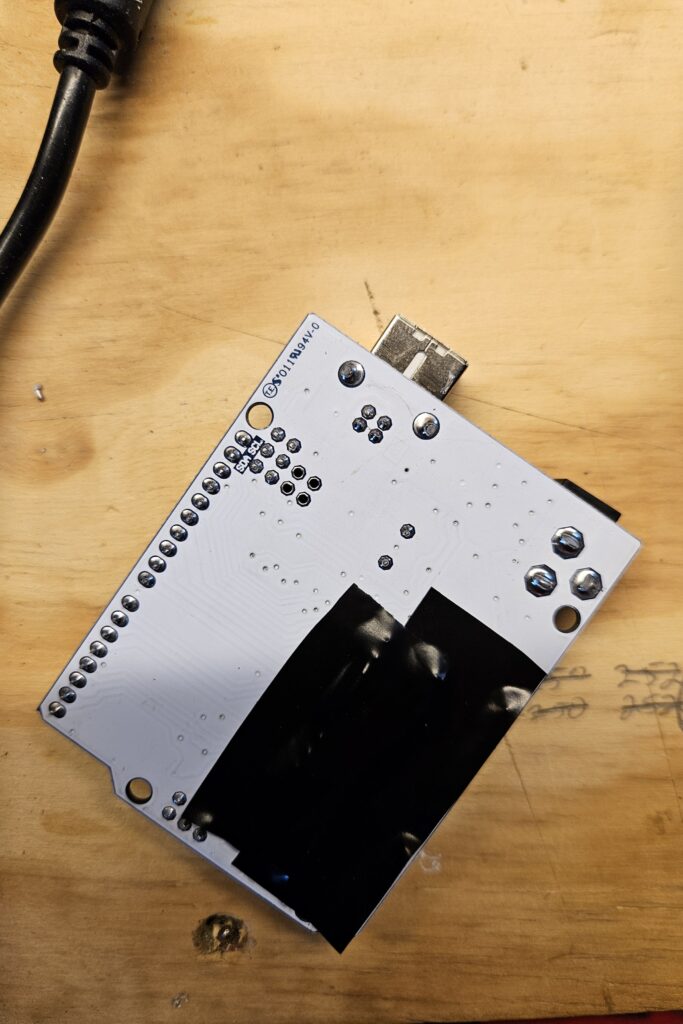
When installing the new Arduino into the enclosure, I saw that some of the pins on the bottom of the board might touch the brass threaded mounting inserts I had put into the enclosure. I was thinking, “This could be an issue later,” so I slapped a couple of pieces of electrical tape over those pins on the Arduino to prevent shorting. I didn’t even think about it because I didn’t want to ruin my brand-new $28 electronics when I powered up!
I continued to install the old controller setup because I was already almost there. The old setup didn’t have the electrical tape, and once the motors and limit switches were connected and powered up, I proceeded to start up UGS. Holy conductive calamity, Batman! The machine came to life with no alarm state being triggered!
It’s a humbling lesson that sometimes the simplest precautions you take to prevent future problems actually introduce an issue that can’t be predicted. Moral of the story? Electrical tape is not always a good thing! Now that this major roadblock is cleared, I’m excited to finish up the rebuild and finally be able to share the full build log. Stay tuned for that post coming soon!