You know how it goes. An idea pops into your head, seems simple enough, and before you know it, you’re knee-deep in wires, code, and asking yourself “what the hell did I get myself into?” Well, that’s pretty much been the story of my “Solar Bugle Call System” project. The goal? To have bugle calls that are a daily reminder of my days in the US Army play automatically, on schedule, every day, from a completely self-sufficient, off-grid system. Turns out, reality always has other plans… and a lot of problems to solve.
The Core Components
Alright, let’s talk guts. You can’t just fart pixi dust and get bugle calls at dawn. Here’s the rundown of what makes this whole thing tick:
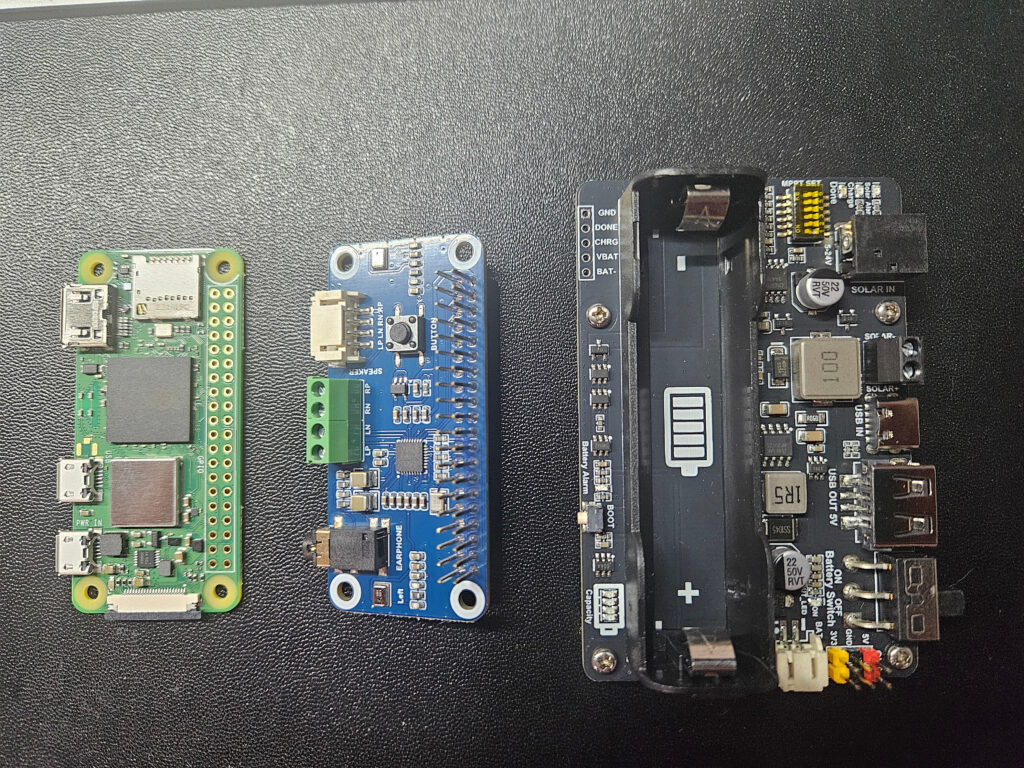
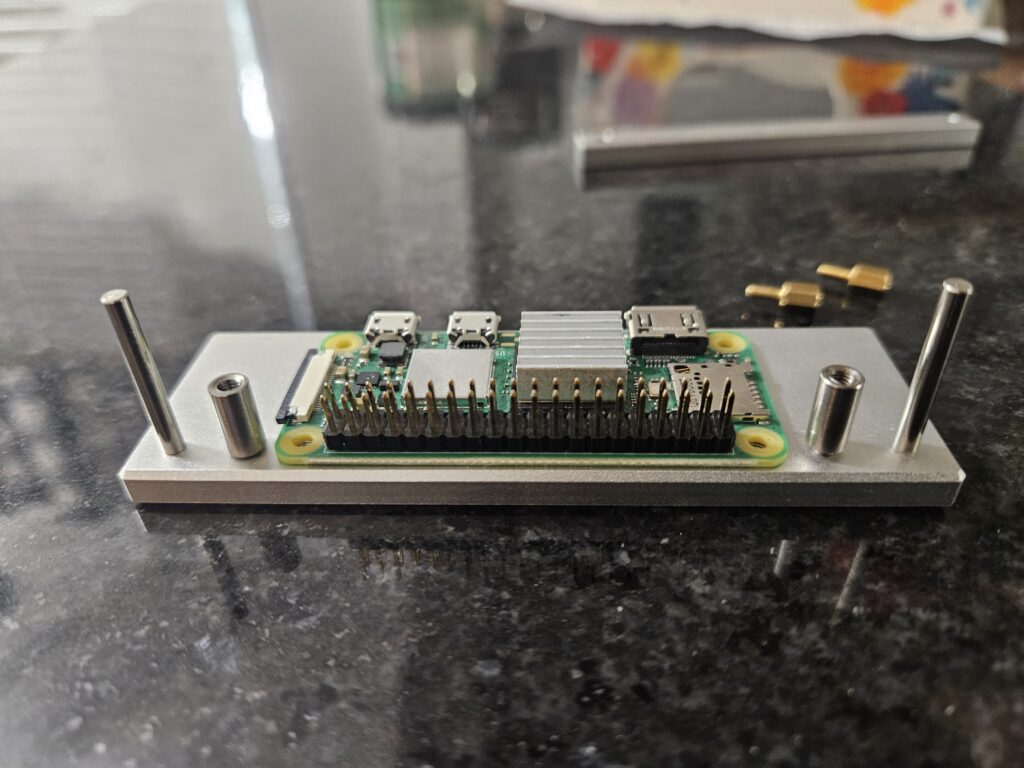
- Raspberry Pi Zero 2 W: This tiny computer is the heart of the operation, handling all the scheduling magic and playing those audio files right on cue.
- WM8960 Audio HAT: This little add-on board is how the Pi actually gets sound out. It plugs right onto the GPIO pins and gives me that audio output I need for the speakers. (If you’re curious about the specifics, you can dig into the Soundcard repo and check out the instructions here.)
- Solar Panel: No outlets needed! This is what charges the battery, soaking up the Texas sun.
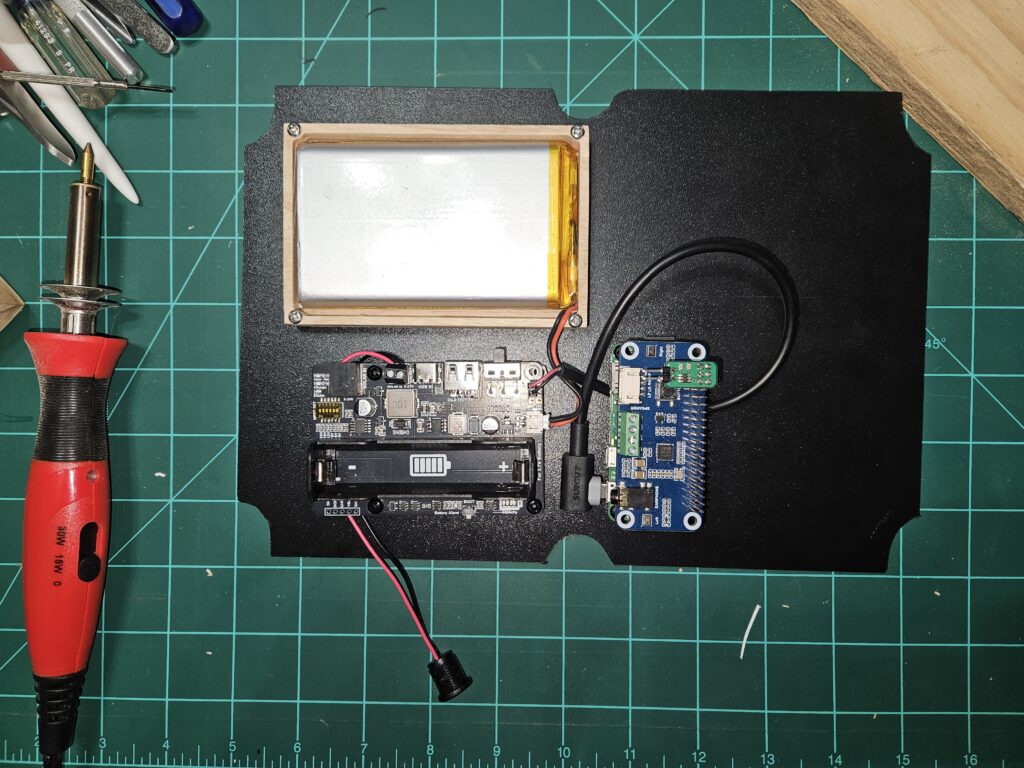
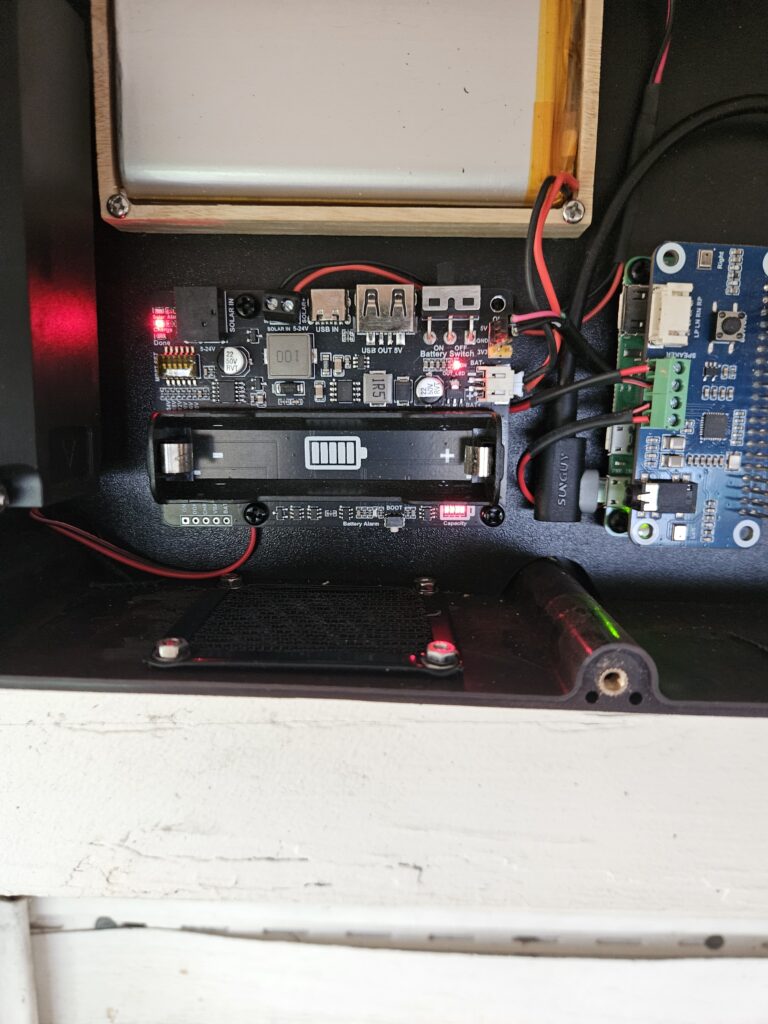
- Solar Energy Manager Board: This board is super crucial. It takes the power from the solar panel and smartly manages charging the battery while also giving the Pi a stable 5V output. (Check out the photo of my setup – it’s pretty neat how it all fits!)
- 3.7V LiPo Battery (e.g., 10000mAh): For those times the sun decides to take a break, this battery keeps the whole show running. Picking a reliable one is key for consistent, long-term power.
- Speakers: Got to have something to make noise!
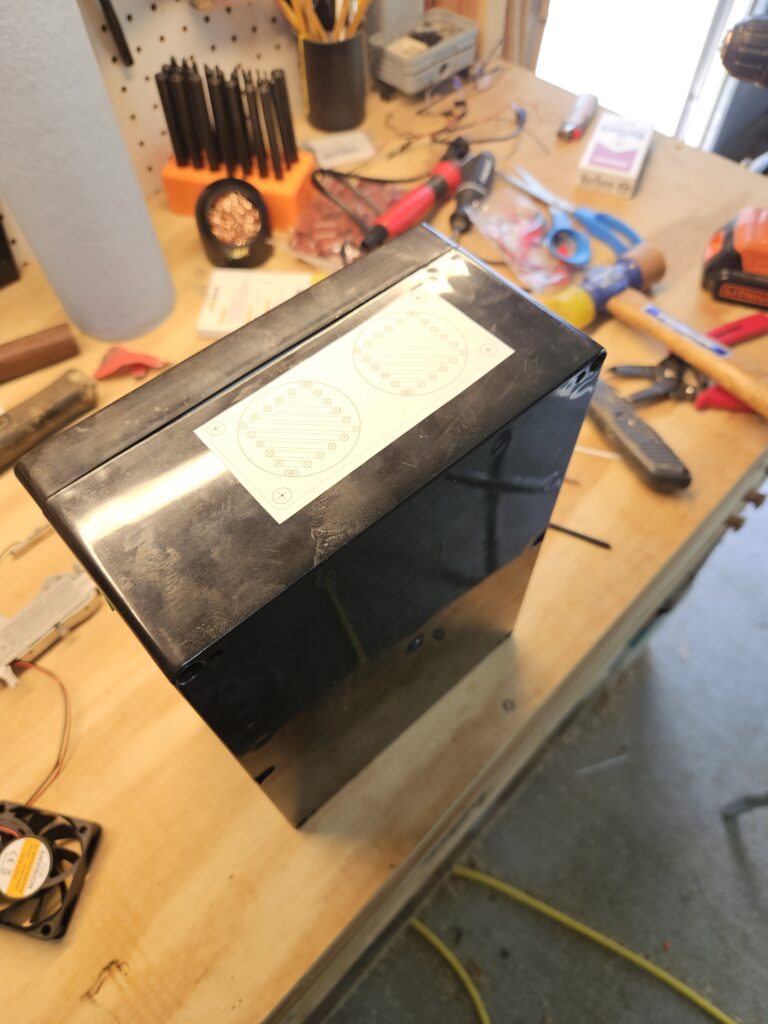
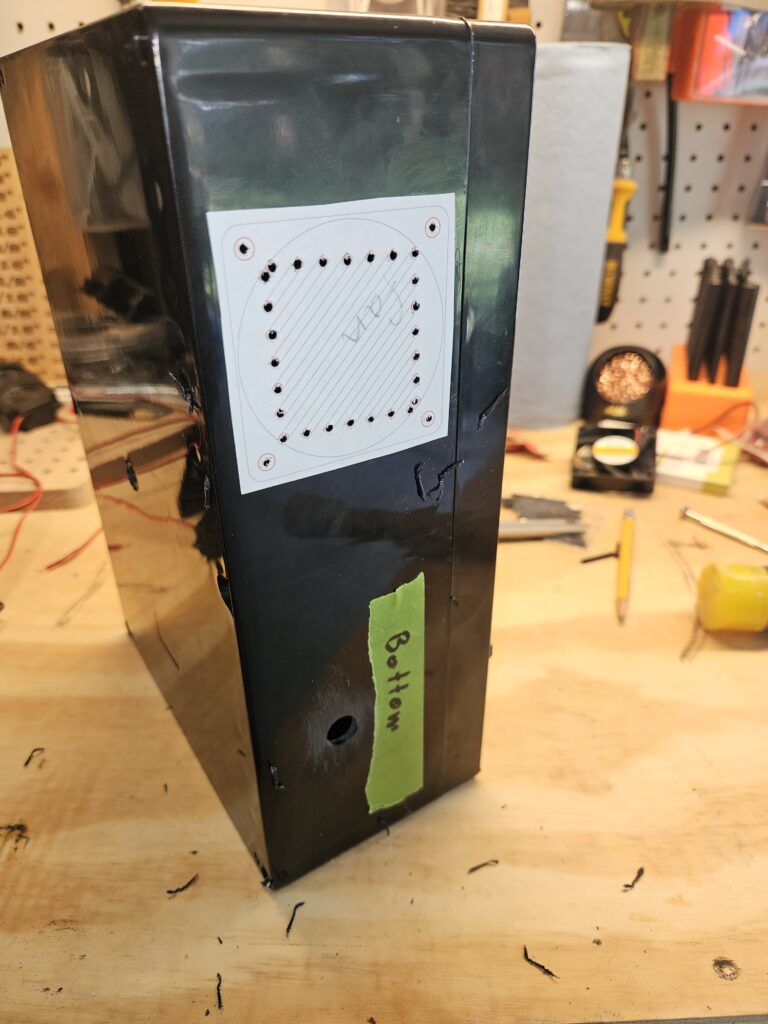
- Enclosure This system lives outdoors, so a robust, weatherproof enclosure is non-negotiable. It keeps everything safe from the elements.
- Cooling Fan: Especially here in North Central Texas, a fan is vital for keeping that little Pi from melting when things heat up.
The Build Journey: Setting Up & Optimizing (Where the Fun/Frustration Began)
This wasn’t just an assembly job; it was a journey of figuring sh*@ out.
Ensuring Reliable Power: The Solar Energy Manager & Battery Choice
First off, power. For an off-grid system chilling outdoors, you need a robust solution that you can trust. That Solar Energy Manager board teamed up with the solar panel and that 3.7V LiPo 10000 mAh battery is the secret sauce. It makes sure the Pi gets its steady 5V, no drama. Getting the Pi to reliably power up from this setup was a huge milestone and a big sigh of relief.
Taming the Heat: Fan Installation
My Pi’s initial CPU temps weren’t terrible, usually around 48°C when just doing nothing (even with an ~90°F ambient). But direct sunlight? That’ll quickly cause some thermal issues! Moving the system into the shade quickly showed how much impact the environment has, bringing temps down to a healthy range.
Now, about that fan. My first attempt at a fan controller immediately sent things going to hell in a handbasket because it wanted to hog GPIO 3. Guess what else needs GPIO 3? The sound card’s I2C. WTFFFF? After some head-scratching and running a little Python script to manually poke GPIOs, I figured out the problem. Switched over to the EZ Fan2 which happily uses GPIO 14, and suddenly, harmony! To really make sure it worked, I even had to temporarily tell the system to turn the fan on at a ridiculously low temperature (we’re talking like 50°C, because my Pi is apparently super efficient and wouldn’t get hot enough for testing otherwise). But hey, it worked! Fan kicks on, fan turns off. Booya! So now, when the CPU does hit that 65°C threshold (or whatever I set it to), the fan will jump into action and keep things cool.
Boosting the Volume: Making It Heard
You can have the coolest tech in the world, but if nobody can hear it, what’s the point? My initial setup, with the WM8960’s internal amp and those 1W speakers, was just too quiet. First step, I dove into alsamixer and found out the volume was somehow only at 50%. Simple fix, crank it up! That helped a ton, making it loud enough to hear from a distance, but it still wasn’t quite there. Ideally, more powerful speakers are needed … 5w would be great.
Remote Access: The Internet is My Command Center
One of the best parts about building this whole system with a Pi is the ability to check in and tweak things remotely. That exceptionally strong WiFi connection out where I mounted the system means seamless remote access. It’s super important for managing the system, checking status, or pushing updates without having to climb a ladder every time I needed to make adjustments to the system. And if I’m away from my home network, I can do everything as I would from home using my VPN network.
Real-World Performance & Observations So Far
Now that everything’s mounted in the final enclosure and running, I’ve been keeping a close eye on it. I originally aimed to have this whole system complete and mounted on or before July 4, 2025, but I missed that by just 3 days, finally getting everything wrapped up and in place on July 6th. The battery performance without direct sunlight is an ongoing test, but so far, so good – it’s holding its own. The CPU temperature has been remarkably stable in various outdoor conditions, sitting around 47.8°C at idle, even with fairly warm ambient temperatures (~97°F), which is great to see with the fan ready. And the audio clarity and range are spot on for what I envisioned. Overall, it’s proving to be a solid, reliable system in its outdoor test environment.
Future Steps & Potential Enhancements
Even though a lot of the initial hurdles are cleared (like getting that fan installed and the volume cranked!), a DIY project is never truly “done,” right? I’m always thinking about what’s next. A couple of things that, if I were to build it again, change are the solar management and speakers.
The solar management works great, but since it’s a stand-alone board, there is no way for me to keep an eye on the battery power levels without removing the enclosure cover. The Pi doesn’t have access since there is only a power cable between the two.
The 1w speakers I would also change so it’s a tad bit louder. But to do this, there would have to be some sort of amplifier also installed which would drain more power and I’m not sure the 3.7V LiPo battery could handle everything.
Then there are always some more advanced scheduling options, or integrating other sensors for environmental data. The possibilities are endless, and that’s half the fun! We’ll just have to see where this goes.
Conclusion: Lessons Learned
This project has been a fantastic ride. From wrestling with GPIO conflicts and battling low volume to seeing those bugle calls play perfectly on schedule, it’s been a blast. Building a self-sufficient, robust outdoor audio system from scratch is incredibly satisfying. If you’ve been thinking about tackling an outdoor or solar-powered Pi project, stop thinking and start building! You’ll learn a ton, and the payoff of seeing your creation work exactly as planned is a feeling you can’t beat. That is how you figure sh*@ out!